Wall Panel Installation Tips

7 Steps to Installing Your Shower Pan
November 7, 2022
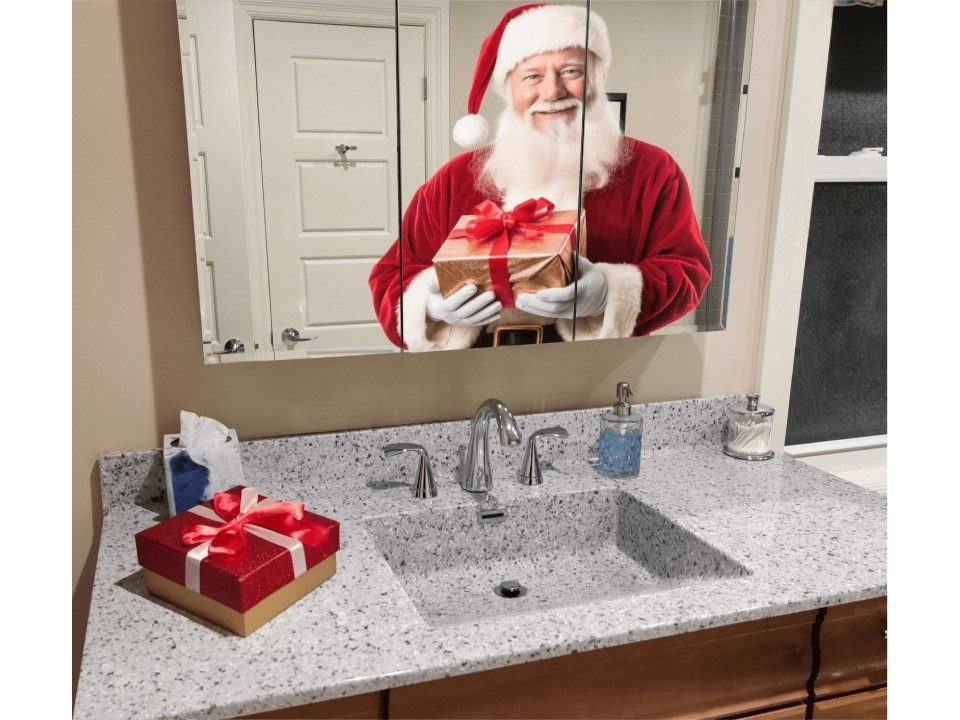
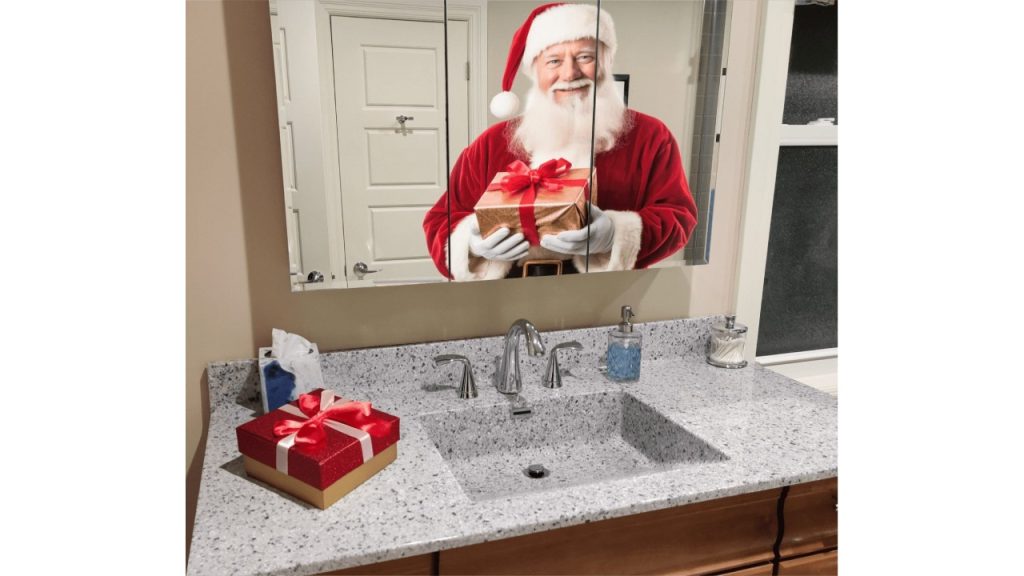
4 Tips For Vanity Top Installation
January 9, 2023
-
Install Your Panels in a Proper Sequence
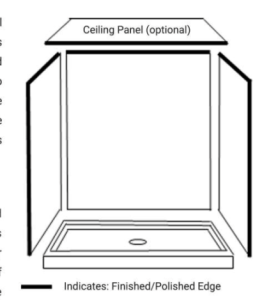
When installing panels, the order you do it in matters. If you have a ceiling panel, that’s always first. The next would be your back panels and finally your side panels. Each panel only has 1-2 finished edges, so be mindful you’re installing them in a way that the finished edges are the exposed edges.
-
Dry Fitting and Inspecting

Identify, inspect, and dry-fit the wall panels. It may be essential to eliminate the plastic to appropriately inspect the wall panel. Templating walls can be beneficial for cutting walls, which are not in square shape. All panels are shipped oversize and cut to fit on-site. Warm the panel to reduce the risk of cracking. When dry fitting, avoid slipping the panel on the shower base. Lifting the panel into place will reduce the possibility of scratching the base.
-
Cutting Tips
The best way to cut our panel is using a diamond or masonry blade saw tip. Find the level point on your wall and identify the measurements both from the centre, left and right side. It’s helpful to draw a diagram and note these measurements so you can make precise cuts afterwards.
Always put a radius on the inside corner when notching a panel. The rounded corner will lessen the possibility of the panel cracking during installation. In cooler temperatures, use extra caution when cutting and notching panels because the panels do not flex as well when cold. Warming the panel will make it more adaptable and easier to install.
You must clean the floor as needed and lower the base into place. It is extremely important that there is a small expansion gap (about 1/8″) between the base and the wall studs. Silicone can be used to protect the base to the floor.
- Silicone Adhesive
All of our products are installed using 100% silicone. You can choose the colour and opacity you want to use. Separate the panel a couple of inches from the wall for about 1 minute and pressing back again will make the adhesive set more quickly. The silicone will start to smell like vinegar which means it’s beginning to set.
Pro Tip: You will need one tube of silicone (10.3oz) for every 1,000 square inches or 6-8 tubes for an average shower.
To help clean any extra silicone, have a bottle of Rubbing Alcohol and a roll of paper towels available.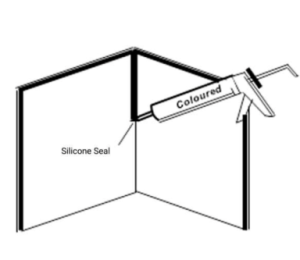
-
Two People Makes the Job MUCH easier
When installing panels, it’s best to have 2-3 people to help you move it and install it. Our panels are beautiful, groutless and long lasting, but they are heavy and require great care during installation!
-
Bracing Newly Installed Panels & Accessories
Once your panels and accessories have been installed, it is essential to brace the panels and all accessories to assure that they are silicone properly and will stay longer. We recommend using a 2×4″ wood plank (measured to the size you require) and placing them in between the walls and against the accessories. Leave the bracing in place for 24 hours prior to eliminating and using your newly installed bathroom!
To see a full guide on how to install our panels, check out the links below:
PDF VERSION
Download the detailed installation guide here: Wall Panel Installation-Guide
VIDEO-
Download the Video guide here: Installation Video